
Put Up or Shut Up
/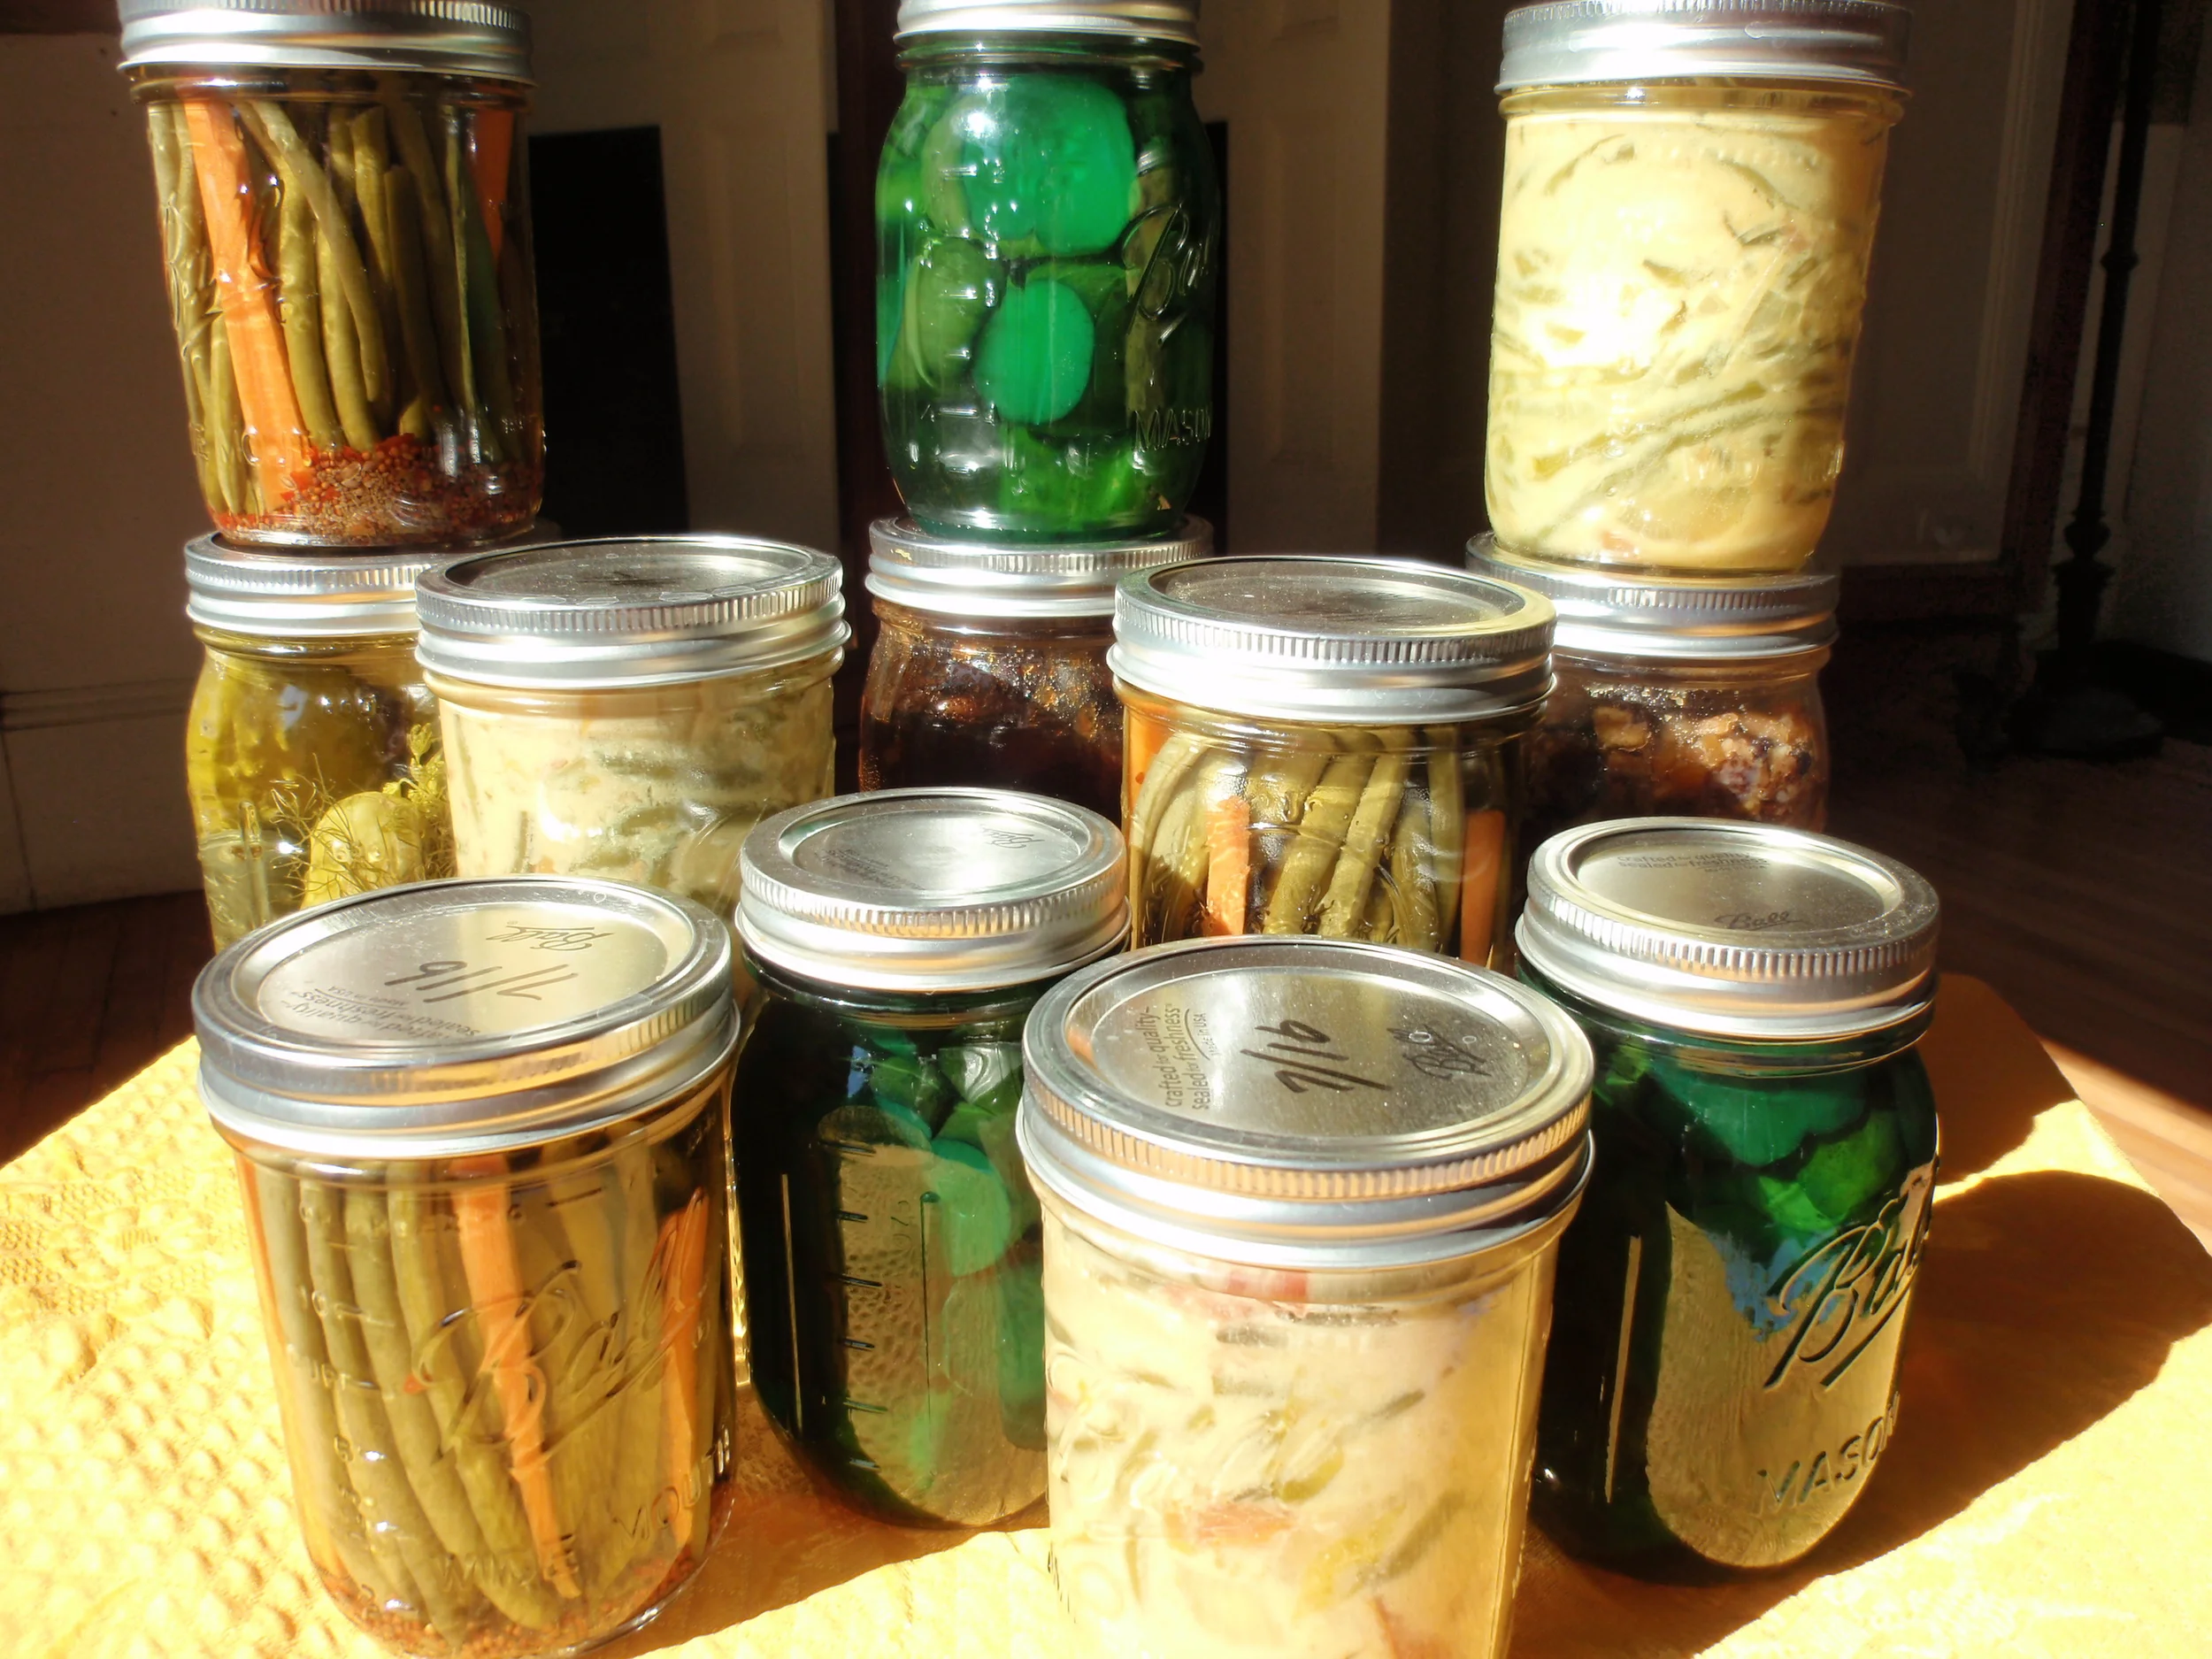
The garden’s overflowing, the farm stands are bursting with all the fruits and veggies you dreamed of back in March. After you’ve eaten your fill, there’s only one thing left to do – put ‘em up!
A lot of folks seem to think that canning and preserving is one of those things that only our ancestors did, slaving in kitchens through hot summer days, frantically stocking up for the cruel, looming winter. And, that’s at least partly true - our ancestors did come up with a lot of great recipes; we’ve shared a couple of our own heirlooms this month.
But (at least nowadays) the fact is that putting up your own preserves and pickles is really more about personal satisfaction. There’s the pride of seeing rows and rows of jars on your shelf, filled with gorgeously colored mixtures, curing for weeks or months until they’re ready to be popped open and sampled. Of course, the piquant tastes inside, when you finally do, are nothing to sneeze at and well worth the wait. Mincemeat pie on Christmas Eve is unquestionably better when it comes from a jar you twisted shut, last August, with your own hands. Even the little “plink” of the jar lid as it seals provokes a momentary twinge of fulfillment.
And here’s the dirty little secret about canning: it’s really not that much work. Most recipes involve nothing more than stuffing some produce in a jar with a couple of spices, and pouring boiling liquid over them. Our dill pickle recipe is a great example – an hour or two’s work, and you’ve got yummy sandwich accessories for months! Take even our apparently daunting2-week sweet pickle recipe – it only amounts to about 10 minutes’ effort for each of those days. Definitely worth it.
So get on out there, buy some jars and lids and get your larders stocked up with pickles, preserves, mincemeat, chutney, chow chow and picalilli. In a couple of months, everyone will be admiring your wisdom and foresight – as they blissfully munch away!
My husband says: I haven’t included any detailed canning techniques with these recipes, because there are any number of other websites already providing plenty of advice in this regard. Nonetheless, here are a few of my preferences:
Ball brand jars now offer both regular and “wide-mouth” versions. I’ve switched entirely to the wide-mouths – much easier to use, both to fill and to extract the final product from.
If you’re doing any recipes that use alum, only buy as much as you need and throw it out when you’re done. It doesn’t last, so you’ll need to buy more next year anyway.
For sterilization of the jars and lids, I just run them through the dishwasher. Then, I try to fill them while they’re still hot, and handle them as little as possible. Some people do a sterilizing bath after the jars are filled, but I never have; For commercial distribution that’s probably necessary, but for home use it seems like overkill.
Notwithstanding the above, I am careful about the seal on the lid. If you’re just getting into canning, here are some tips:
- Fill the jar only to about ½ inch from the top. That way the cooling air on the top will create the vacuum necessary for the seal.
- Thoroughly wipe the top of the jar clean with a fresh, dampened paper towel – after filling, before closing - so the lid will screw shut securely. Then screw the lid down tightly, but not with excessive force.
- As the jar cools, the little button on the top of the lid should pop down, usually with a nice little “plink” sound. After they’ve cooled completely, check each jar by pressing down on the button to make sure it’s sealed – if you can still pop it down, it’s not.
- If any of the jars don’t seal, they’re not goners. Just store them in the refrigerator, and use them first. This also goes for recipes that aren’t heat sealed – e.g., the chutney and mincemeat recipes in this post.
And, of course, before you open and enjoy the fruits of your endeavors, make a final check: the seal should still be good, and the liquid as clear as when you put it in the jar.